Hot Desking
Hot Desking, as a IPVoice feature is very simple. Once set up a user can sign in/out of a handset by dialling an access code (*555 by default) on any handset. The user will go to an attendant where they are prompted for an extension number and a PIN. Once this is entered, the phone will be rebooted and auto provisioned with the new users extension details.
If there was already a handset registered with same extension number, it will also reboot and provision back to the unassigned state or the “base extension”. If the extension is on a call, the phone will reboot once call ends.
Handsets that are in the unassigned “base” state will not be able to dial anything – including emergency numbers such as 999/112, but the Hot Desk feature access code and any calls received to the signed out extension will go through to voicemail.
NOTE: If a hot-desk user is signed into a handset and a factory reset is required, ensure that the user is signed out of the hot-desk before factory resetting. If this is not done the handset may be locked in a “logged in” state. The only way to resolve this is to set up a IPVoice app as the extension and dial *555 with it to log out.
How to set up Hot-desking
Step 1:
Assign the MAC Address(s) of the “base” handset to the Hot desk table (Individually or by bulk file upload – see CSV upload section)


Step 2:
Create an extension and assign a unique dummy MAC address where the MAC address is usually placed. (recommended format 0000[server][tenant num]00[3 digt extn number]

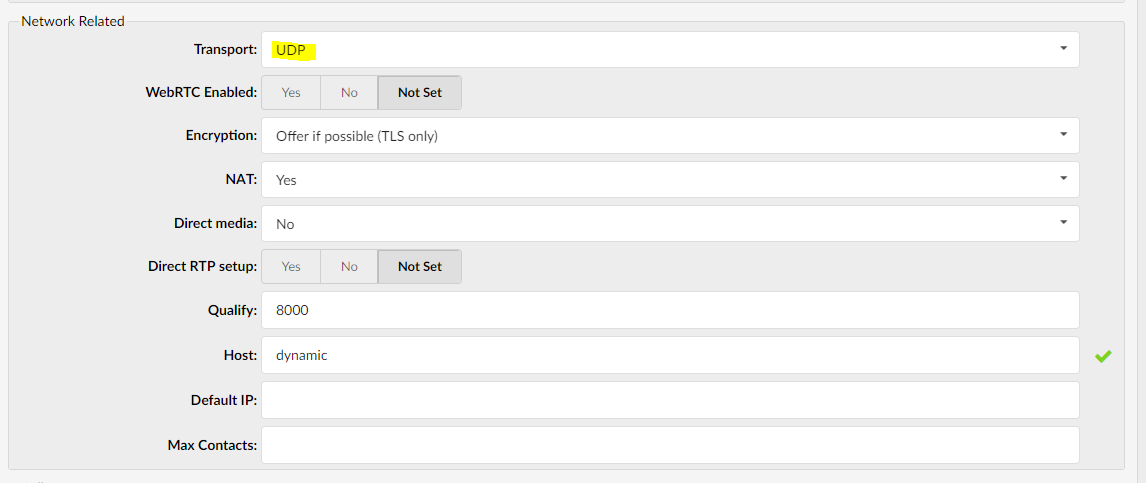
Important note:
To use system Hot Desking the extension must have UDP selected as the transport in the “Network related” settings under the extensions advanced options
Step 3:
Once a handset is plugged in, it will come up in the “base” state with the label “Login”. When the handset is lifted the phone will automatically dial *555 and take the user to the log in attendant.
Step 4:
Log in with extension number & PIN.
The handset will then reboot and the handset will update with the details from the extension number provided, including any BLF keys or additional config/call routing.
Step 5:
Set up Timed log out if required – this can be done in the extensions “Advanced Options” or it can be set at a site level.

NOTE: Hot Desking feature currently works only with these devices:
- Yealink and Cisco
CSV upload:
There is an option to upload CSV file instead of manually entering phones. Click Browse button, select the .csv file from your hard drive and press upload button. Please make sure that CSV file contain comma separated MAC address of the phone and device type per each line (MAC,device), like in example below:
001565367db9,yealinkt33p
0004f23ld871,cisco8865
In case you are not sure what to enter for your device name, check the Settings -> UAD, edit UAD for your device model and in General (section) check exact name set under Internal UAD name for Auto-Provisioning field.
CSV download
Once you have created list of Hot Desking devices you might be in to position where you would like to export it to a new system, for testing purposes or in case of a migration for example. The CSV Download button gives you an option to download a full list of hot desking devices from a tenant in CSV format, which can later be used to recreate the list on a new tenant.
Download CSV Template
As described earlier you can add large number of hot desking devices at once, by creating a CSV file. Download CSV Template button will present you with a file that already contains necessary headers which should help you create CSV file easier.
Have more questions? Submit a request